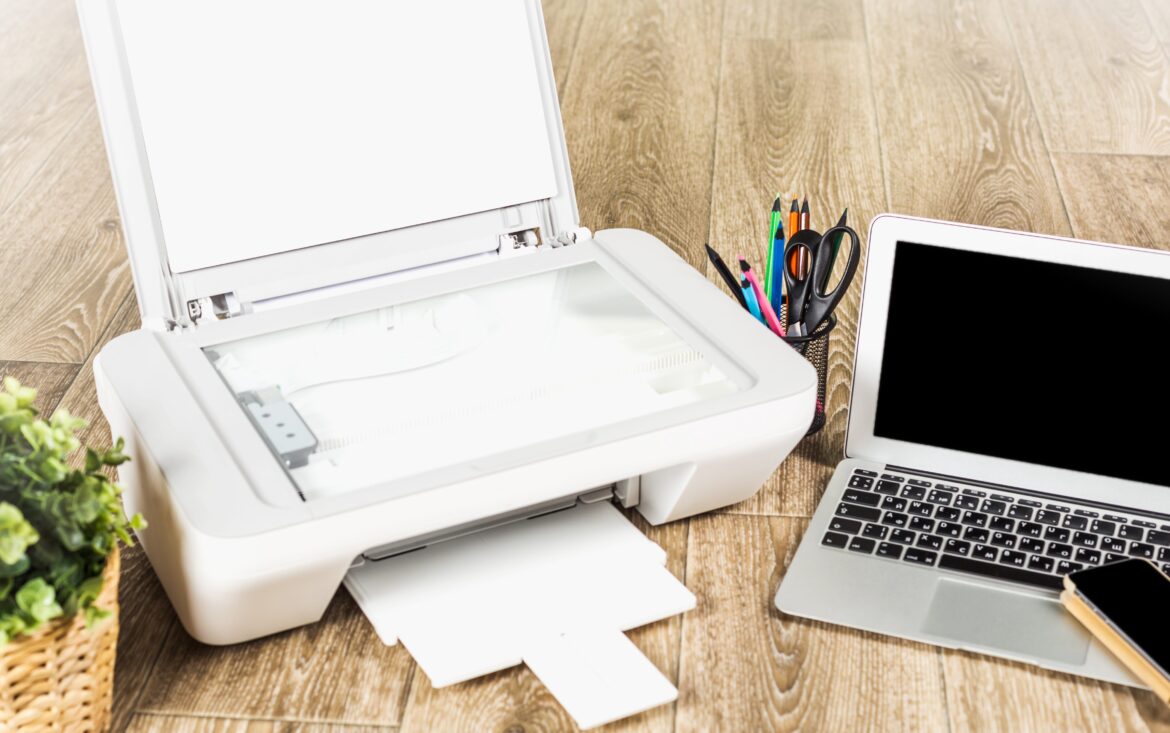
🔧 Step 1: Unbox and Prepare the Printer
- Unbox the printer and remove all packaging materials (tape, foam, etc.).
- Install ink or toner cartridges as per the instructions in the box.
- Load paper into the input tray.
- Connect the power cord and turn on the printer.
💻 Step 2: Connect the Printer
Option A: USB Connection (Wired)
- Connect the printer to your computer using the provided USB cable.
- Your computer should automatically detect the printer and install basic drivers.
- If needed, go to the manufacturer’s website and download the full-featured driver/software.
Option B: Wi-Fi Connection (Wireless)
- Use the printer’s control panel screen to navigate to:
Settings>NetworkorWireless Setup Wizard.
- Select your Wi-Fi network and enter your password.
- Download and run the printer software on your computer to complete the setup.
- Example: HP Smart App, Epson Connect, or Canon PRINT.
Option C: Ethernet (Wired Network)
- Connect the printer to your router using an Ethernet cable.
- Use the printer’s display to confirm the network status.
- Install drivers on your computer and choose the network printer during installation.
🖥️ Step 3: Install Drivers and Software
- Visit the official website:
- Download the latest drivers and full software suite.
- Run the installer and follow the on-screen prompts.
🧪 Step 4: Test the Printer
On macOS: Go to System Settings > Printers & Scanners, select your printer > Options & Supplies > Utility > Print Test Page.
Print a test page to confirm everything is working.
On Windows: Go to Settings > Devices > Printers & scanners, click on the printer > Manage > Print a test page.


