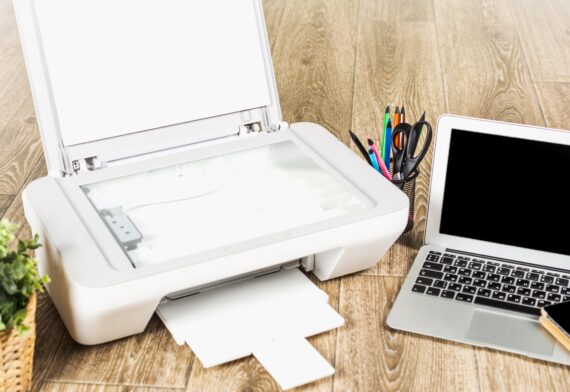
Setting up a printer can feel like a hassle, but with the right steps, you can have it up and running in under 15 minutes. Whether you’re working from home, printing family photos, or setting up a small office, this guide walks you through the entire process—no tech degree required.
📦 Step 1: Unboxing and Getting Started
The first step is unboxing your printer and preparing it for setup. While each model is a little different, here are the essentials:
What to Do:
- Remove all packing tape, foam, and protective film.
- Place the printer on a flat, stable surface near your computer or router.
- Plug in the power cord and press the Power button.
Pro Tip:
Don’t throw away the box and packaging until you’ve printed a successful test page—just in case you need to return or exchange the printer.
🖋️ Step 2: Install Ink or Toner
Most printers come with a “starter set” of ink or toner cartridges.
- Open the access panel or lid (usually located on top or inside the front cover).
- Insert the cartridges into their corresponding slots. They should click into place.
- Close the panel and let the printer calibrate (this might take a few minutes).
Inkjet vs. Laser:
- Inkjet printers use liquid ink—great for photos and color documents.
- Laser printers use toner—better for fast, high-volume printing.
📶 Step 3: Choose Your Connection Type
There are three main ways to connect your printer:
Option A: USB Connection
The easiest and most reliable method.
- Plug the USB cable from the printer into your computer.
- Your operating system (Windows or macOS) should recognize it and install the necessary drivers.
Option B: Wi-Fi Connection
Perfect for wireless printing from multiple devices.
- On the printer’s control panel, go to Settings > Network > Wireless Setup Wizard.
- Select your Wi-Fi network and enter your password.
- You may need to install a companion app (like HP Smart, Canon PRINT, or Epson iPrint) to complete setup.
Option C: Ethernet (Wired Network)
Ideal for office setups.
- Connect the printer to your router using an Ethernet cable.
- Install the printer driver on each device that needs to print to it.
💻 Step 4: Install Drivers and Software
Even if your printer “just works” when plugged in, installing the full-featured driver gives you access to scanning, ink level monitoring, and other features.
Where to Find Drivers:
- HP: support.hp.com
- Canon: usa.canon.com/support
- Epson: epson.com/support
- Brother: support.brother.com
What to Expect:
- Download and run the setup file.
- Follow on-screen instructions (select connection type, agree to terms, test print).
- Restart your computer if prompted.
🧪 Step 5: Print a Test Page
Once everything is installed, it’s time to verify that your printer works.
- On Windows:
Go to Settings > Devices > Printers & Scanners, click your printer, then Manage > Print a Test Page. - On macOS:
Open System Settings > Printers & Scanners, select your printer, then Options & Supplies > Utility > Print Test Page.


